Member-only story
How to use Azurite in JetBrains Rider
A quick post on Setting Up and Using Azurite in JetBrains Rider for Local Azure Storage Testing
As developers working with Azure Storage, we often need to test our applications locally before deploying to the cloud. Azurite is an open-source emulator that offers a free local environment for testing applications that work with Azure Blob, Queue Storage, and Table Storage. Once you are happy with your application’s local performance, you can transition to using an Azure Storage account in the cloud. This emulator supports multiple platforms including Windows, Linux, and macOS. Azurite replaces the Azure Storage Emulator and is regularly updated to support the latest versions of Azure Storage APIs.
Installing Azurite
Azurite by default installs with Visual Studio 2022, however you can also install it using npm which is what I decided to use.
Install it by running npm install -g azurite
This installs the azureite in %appdata%\npm which on most Windows machine resolves to
C:\Users\<user>\AppData\Roaming\npm\
Configuring Rider
You may receive a warning indicating that Rider is unable to locate Azurite, as shown below.

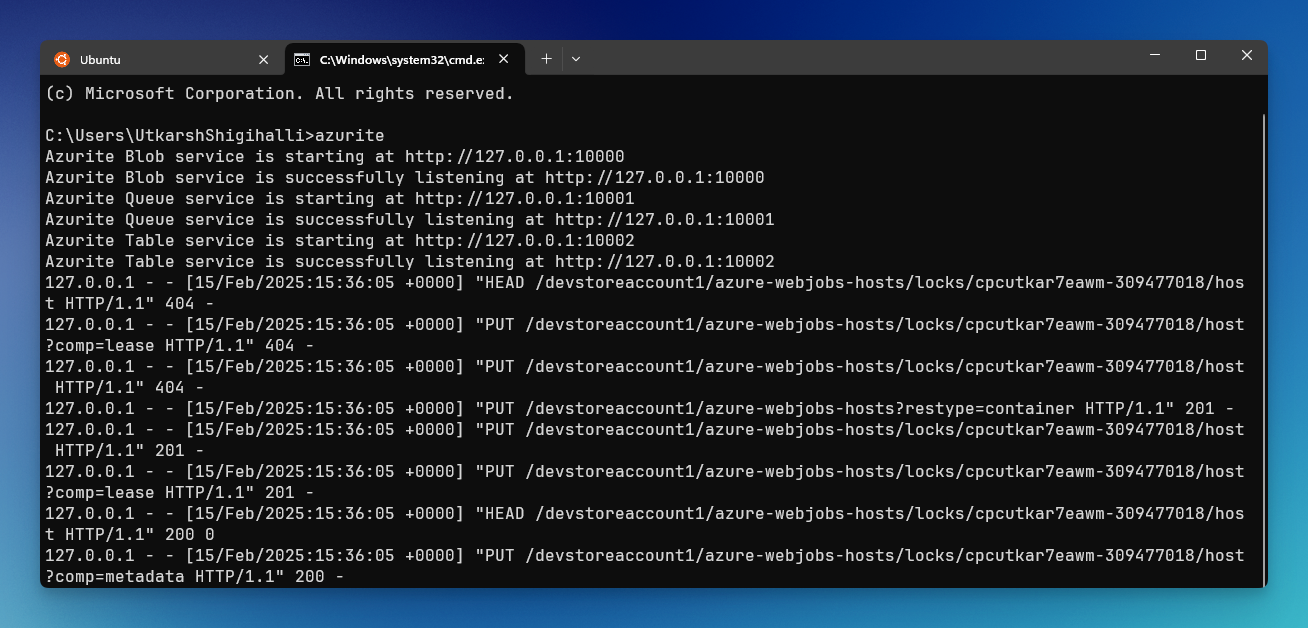
However, I was bit confused why Rider was not detecting my installation. As you can see below I could run azurite locally without any issues.
The trick was, Rider expects the path to azurite.cmd where as I was setting it to just C:\Users\<user>\AppData\Roaming\npm\

With Azurite properly configured, you can now access the Azurite emulator directly from within the Rider IDE. In the Services window, you should see the Azurite emulator listed. Right-click on Azureite emulator and selectStart to launch the emulator.
